How to Add New Pages to Your Site with HTML
New pages? No problem.


Coding your first web page and getting it online is a big deal, so if you’ve made it this far, congratulations! Still, as much as you deserve a pat on the back, it’s no time to rest on your digital laurels—bringing your first web page to life was huge, but in order to move from a static website to a site that’s compelling and attractive to visitors (while also being findable by search engines), your site needs to have multiple web pages. Wondering exactly what it takes to add new pages to that single page site you’ve already coded and uploaded to a web server? We’ve got you covered.
Hand-coding a website from scratch and building a website using a content management system are two of the most common methods for creating websites. In the case of hand-coding, markup languages like HTML and CSS define the parts of a web page (things like headlines, paragraphs, fonts, and colors) so they’ll render properly in your visitors’ web browser window, while scripting languages like JavaScript control a web page’s dynamic content (slideshows, interactive maps, scrolling video, etc.). If you’re taking the content management system route, software like WordPress (a website builder) is used to create web content through a drop-down menu, forms, and built-in text editors. Since you most likely built the first page of your website using one of these two methods, we’ll go over step-by-step instructions for adding additional pages to both an HTML/CSS site and a WordPress website.
Adding Web Pages to an HTML website
If you’ve started your site by creating a homepage using HTML and CSS, that first page should exist as file titled index.html. This will be a page you created in a text editor using HTML code for those structural elements like headlines and paragraphs, and CSS (either externally, internally, or inline) for page layouts, colors, and font types. If you’re using an external style sheet to define the appearance of your entire website, you’ll also have a .css file containing your external .css code. At this point, those two files (or just the index.html file if your CSS is internal or inline) should be in a dedicated project folder on your desktop. If you’ve already put your one-page website online, you’ll also have uploaded your index.html file (and .css file if applicable) to a web hosting service. With that out of the way, you’re ready to start adding additional pages.
Just like you did with your homepage, open up a text editor and put those HTML coding skills to work. Then, once you’re done coding, save this new page as an .html file with an appropriate filename—for instance, if you’re making an About page for your site, name the file about.html. Add this new file to your project folder alongside index.html, then open up index.html and add text on your homepage with a link to the new page you’ve created—remember, once you start adding additional web pages it’s critical to link each page to all the others so visitors can navigate your website. To help keep track of this as your site begins to grow in pages, it’s a good idea to create a sitemap. This can either be a document kept offline, or a page added to your actual website that literally maps out page placement and how each page links to the others. When you’ve completed these steps, simply upload the new page to your web hosting service via FTP (the exact same way you uploaded your original homepage), and your newest addition to the site will be live.
One tip to keep in mind when working with HTML pages is to clone content when applicable (rather than starting over from scratch with each new web page). By doing this, you can reuse existing code as a template and only create a custom template when necessary—something that will save you a lot of time during your web developer career. To do this, simply start new pages by opening your original index.html page and “saving as” a new page (for instance, the about.html page described above). You’ll then be able to start off with whatever code from your homepage that you want to carry over to your new page, while deleting anything that doesn’t belong and adding new code as needed. This is a lot easier than re-coding every aspect of a new page, or even clicking back and forth between files to copy and paste HTML code.
How to Add New Pages to a WordPress Website
If you’re using WordPress to build and manage a WordPress website, the method for adding a new page is as follows:
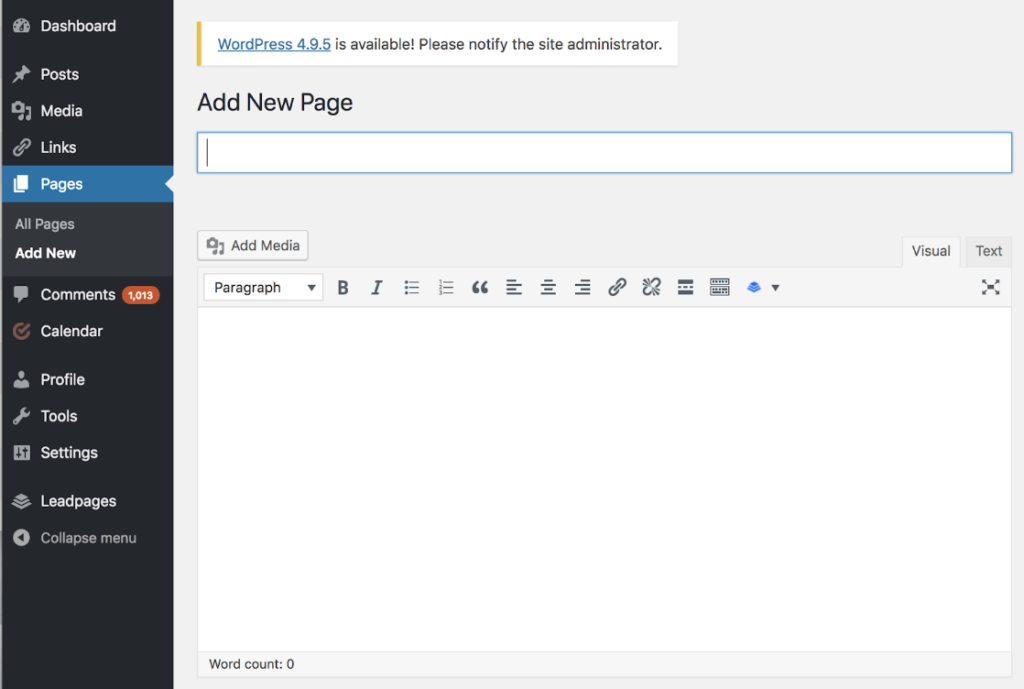
Look for the Pages category on the sidebar menu to the left hand side of your screen.
Click on Pages, and select Add New.
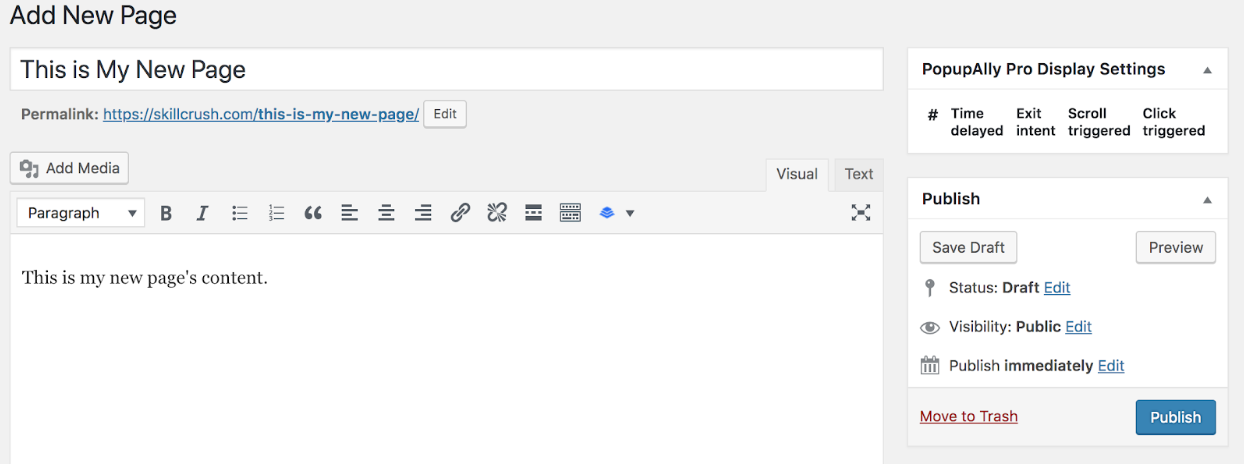
Enter a title in the bar under Add New Page, then move to the text editor field below and WordPress will automatically generate a url address for your page:
You can either keep this default url (as in the image above), or edit it by pressing the Edit button. After that, simply add your page’s content in the text editor field, hit the big shiny Publish button when you’re done, and you’ve just got yourself a brand new page for your WordPress website.
Finally, remember—just like with an HTML website—you need include linked text on each page to allow visitors to navigate back and forth across your WordPress website.
Scott Morris
Category: Blog, Career Change, Coding Languages and Tools, Entry Level Tech Jobs, For Beginners, Learn to Code


